Back to Top
Gas Meter Box Door Replacement | Step-by-Step Guide
Over time, it may become necessary to carry out a Gas Meter Box Door Replacement due to general wear or physical damage. Performing this task properly ensures your gas meter remains secure and weather-protected. Below is a straightforward guide outlining how to remove an old door and install a new one efficiently.
At MeterBoxDirect, we offer a complete range of high-quality replacement doors tailored to various meter box models. Browse our collection to find the exact fit for your needs.
Step 1: Acquire a Gas Meter Box Door Replacement
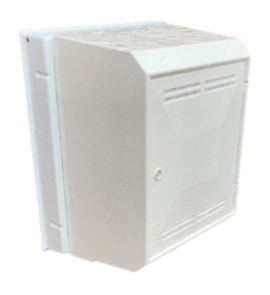
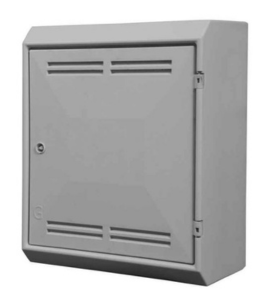
Before starting the Gas Meter Box Door Replacement process, identify and source the correct model that fits your existing box. Your selection depends on whether your meter box is recessed, surface-mounted, or semi-concealed.
Once you have your replacement door, you can begin the installation.
Step 2: Remove the Damaged Door
To remove the current door, press the brass spring pin at the hinge. This should release the door from the housing easily. Take caution to avoid injury during this step by checking the placement of your hands.
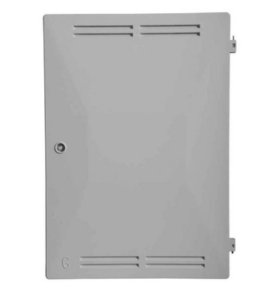
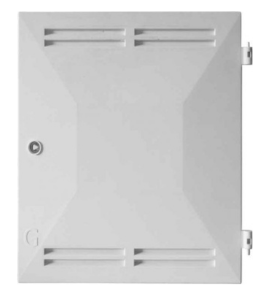
Step 3: Fit the New Gas Meter Box Door
Hold the new door upright and place the steel pin into the pre-drilled hole at the bottom of the box. Then, align and release the spring pin at the top so it locks into place securely.
Test and Finalise
Close the newly installed door and test it a few times to confirm a proper fit. Most doors include either a slam-shut or turn-key lock. Ensure it opens and closes smoothly. Explore options below:
