SEAL ASSEMBLY INSTRUCTIONS
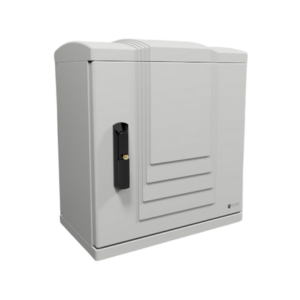
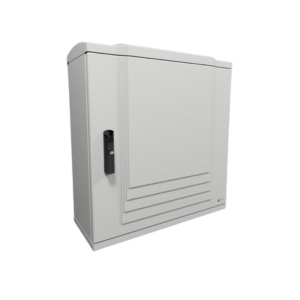
In this blog post, we will be discussing how to assemble an IP43 flat-packed kiosk. Our IP43 single-door kiosks are suitable for electrical and commercial installation. They come flat-packed so we will walk you through the assembly process step by step, so you can have your kiosk up and running in no time!
BOTTOM SEAL
Tools required: Scissors or Knife
Step 1:
• Get the bag labelled (BO-1-Bottom)
• Trim seals to the required length along front and back sections. Do not cover tabs.
• Remove the adhesive strip and apply slight pressure against the panel surface to ensure the seals adhere.

RIGHT SEAL
Step 2:
Once two side panels are fitted, you need two seals on either side panel, a seal for the front and the rear of both panels will be needed.
• Starting with the right panel, get the bag labelled (BO-4-Left&Right) and use the smaller of the two seals to begin with.
• Measure from the top of the side panel down to the bottom panel and cut the seal to length.
• Once the seal is cut, remove the adhesive and apply to the surface, keeping the pressure down to ensure the seal sticks.
• Locate larger seal and apply to the rear of the panel as shown.

LEFT SEAL
• Get the bag labelled (BO-4-Left&Right) and measure the length from top to bottom of
the panel.
• Remove adhesive strip and press onto the surface ensuring it is even along the surface.

Next, measure the distance from the end of the seal to the inside of the panel where no
seal is evident.
• Cut two small tabs to make the front of the panel fully sealed.

Finally, add seal to the bottom panel and meet the seal at side panel.
• Attach seal to the final left hand section as shown below.
• Then, apply seal to the final section on the right hand side.

TOP COVER SEAL
Step 3:
• To assemble the kiosk, get the top cover and the bag labelled (BO-3-Back). The seal is pre-cut for assembling.
• Once the metal pins are in place, the seal should begin by going around the pins and following the flow of the panel.
• Once again, remove the adhesive tape and place pressure on the seal to ensure it sits correctly.

Step 4:
• When the top panel is fitted get the bag labelled (BO-2-TOP) and measure the sections along the top panel.
• Do not cover the tabs as this will be completed at a later step.

• Measure and cut the seal as shown in the image above.
• Once the seal is cut, remove the yellow tape and stick it to the surface.
• Ensure the tab isn’t covered and that the top of the seal is aligned with the bottom of the tab.
• Cut the shown tabs out from the top cover seal. Cut the shown tabs out from the top cover seal.

FINAL SEALING – TOP & BOTTOM PANEL
Step 5:
Bottom Panel
• Get the bag labelled (BO-1-Bottom) and measure across until it meets the seal descending from the right-hand side panel.
• Remove the adhesive tape and stick to the tabs and seal already present.

Top Panel
• Like on the bottom panel, get bag labelled (BO-2-TOP) and begin on the left-hand side
starting where the seal finished on the side panel.
• Measure along the top panel and cut where the seal meets the right panel.

KIOSK BODY ASSEMBLY INSTRUCTIONS
- Assemble the 2 sides first. The pre-drilled holes with inserts are to be kept at the back of the base plate.
- Insert the screws to attach the sides to the base, do not fully tighten the screws at this stage. Turn the kiosk around, the back of the kiosk facing you.
- Assemble the back plate to the sides, inserting screws, again do not fully tighten at this stage at 4 corners.

4. Insert longer dowels at the top of the back plate

5. Insert the top plate.

7. Insert the 4 screws to attach the top plate to the sides.
8. Fully tighten all of the screws throughout the kiosk.
9. Insert the back plate and tighten screws.
Door Assembly

- To attach the door, push down the bottom hinges, it will be placed in the groove located at the bottom corner and top corner. Hinges to be turned 90⁰ to lock in place.
2. Push in the brass fitting and slide the lock cover up, turning clockwise with the key and pull out the handle.
3. Close the door as normal pulling down the handle to lock in place.
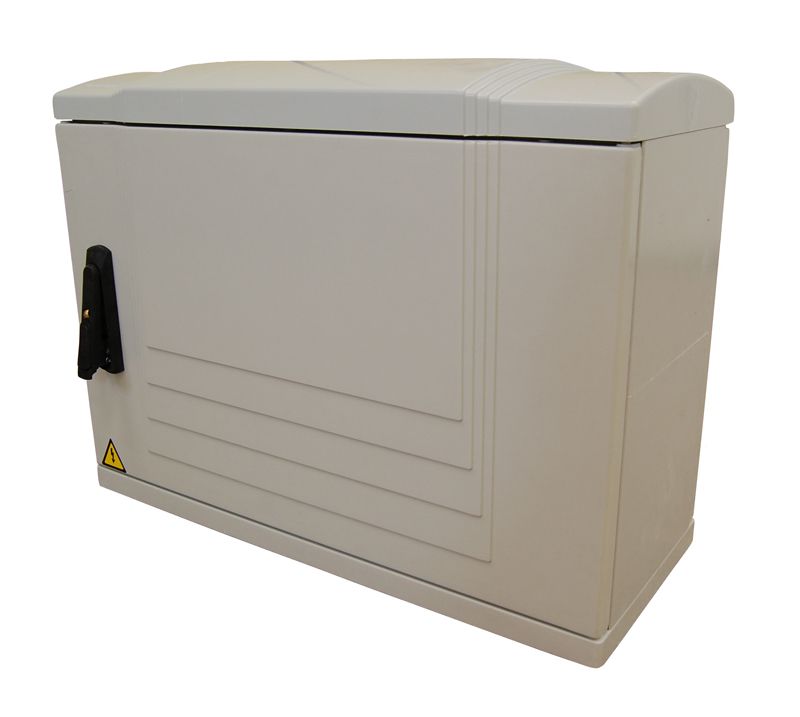
Information on temporary builders supply kiosk.