Fix a Damaged Gas Meter Box with Gas Meter Box Cover

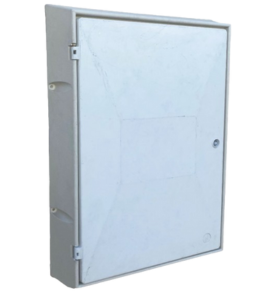
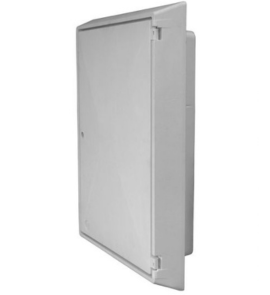
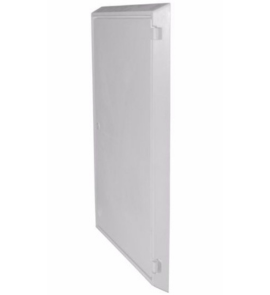
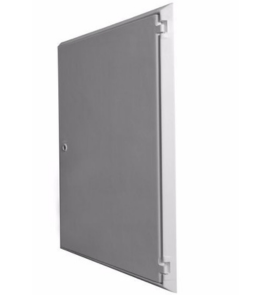
Is your gas meter box cracked, damaged, or missing a door? Instead of replacing the entire unit, a gas meter box cover—also known as a GRP Overbox—can restore its function and appearance quickly and cost-effectively. This guide explains how to repair a damaged gas meter box using an overbox cover. The installation example shown features a Mark 2 Recessed Gas Box, which is a common type, but the same method can apply to other models as well.
Step 1: Check Your Meter Box Dimensions
Before buying a gas meter box cover, measure your existing box’s height, width, and depth to ensure a proper fit.
Click here to browse suitable overboxes by size
Note: The image used in this guide shows a Mark 2 Recessed Gas Box.
Step 2: Prepare the Surface
Remove the old or damaged door, clean around the architrave, and seal any cracks using fire-retardant silicone to prevent water ingress.
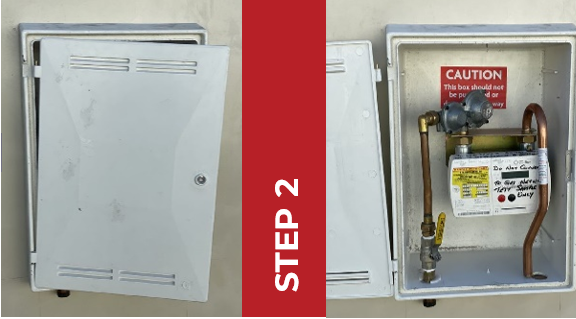
Step 3: Remove the Overbox Door
Detach the GRP Overbox door by using a narrow screwdriver to release the hinge clips.
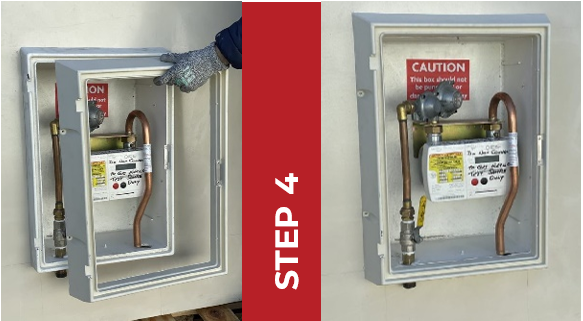
Step 4: Fit the Gas Meter Box Cover
Position the GRP Overbox over your existing meter box and ensure a snug fit.
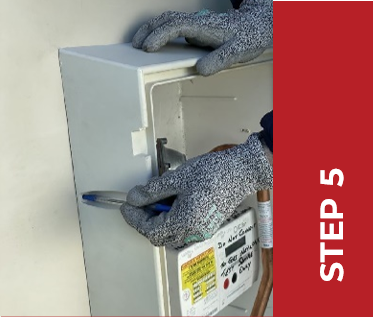
Step 5: Mark Fixing Points
Use the pre-drilled holes in the overbox to mark where screws will go.
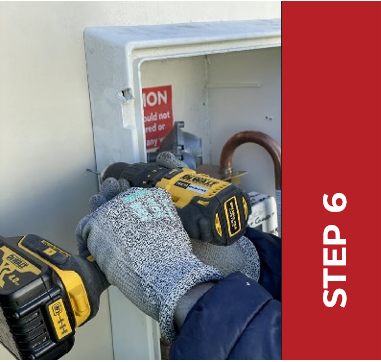
Step 6: Drill Fixing Points
Drill holes at the marked positions using an M6 drill bit to a depth of 30mm.
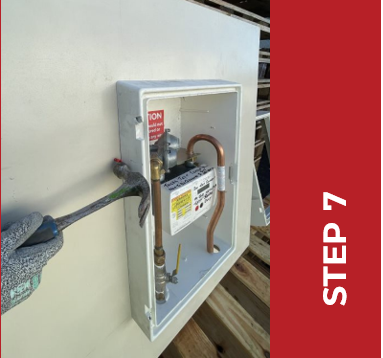
Step 7: nsert Wall Plugs and Secure with Screws
Insert the supplied wall plugs and fix the overbox securely with the provided screws.
Step 8: Reattatch the Door and Seal Gaps
Reinstall the door, then seal around the edges with fire-retardant silicone for added weather protection.
Why Use a Gas Meter Box Cover?
- Affordable repair solution
- Quick installation with basic tools
- Protects meter from weather and damage
- Gives a clean, professional finish
Whether you're repairing a single box or maintaining multiple properties, a gas meter box cover (GRP Overbox) can help you extend the life of your current meter enclosure without a full replacement. Explore options below:

 Call us now: